Timesheets (JBX)
Timesheets are a valuable tool for your organisation. Reporting time manually at the end of the workday or at the end of the week will help your jobs stay on track.
Time can be entered on both billable and non-billable jobs.
Time can be entered whether you are using the desktop software or JobBag online.
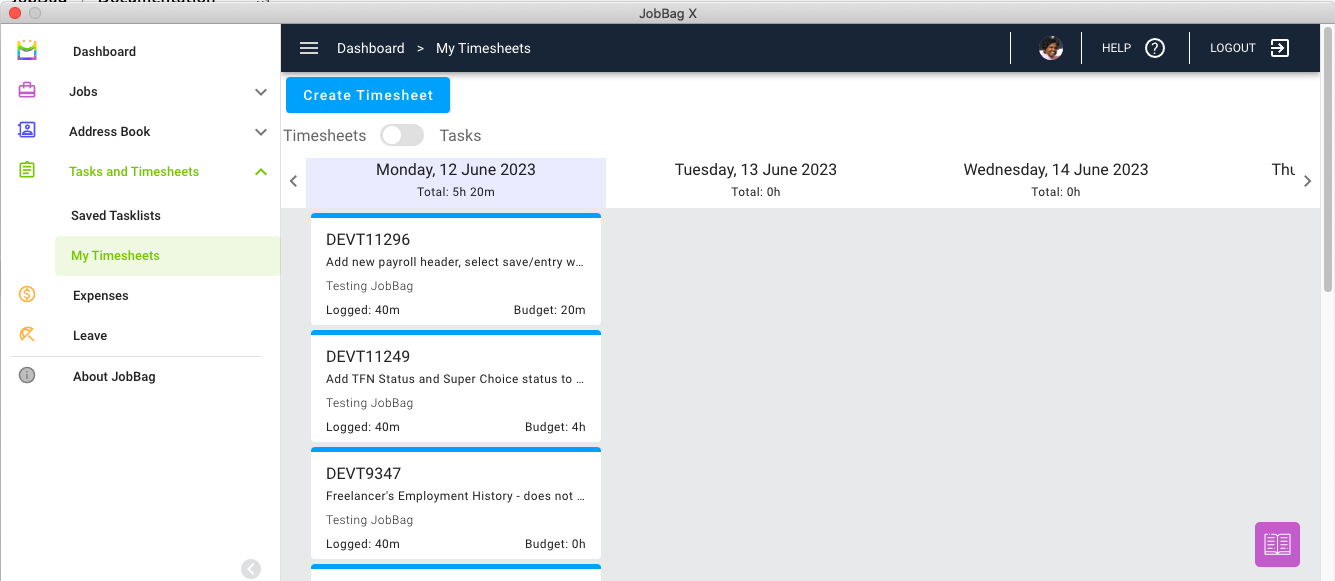
Your weekly time use can be seen as a glance as time entries in your calendar. You can easily add new or modify existing time entries.
Create a timesheet without a task Manual entry
You can create a timesheet without a task being assigned to you or your team.
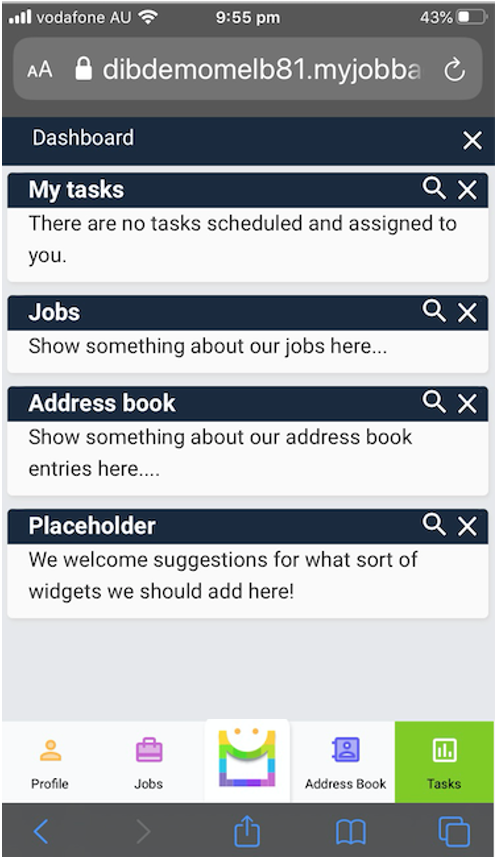
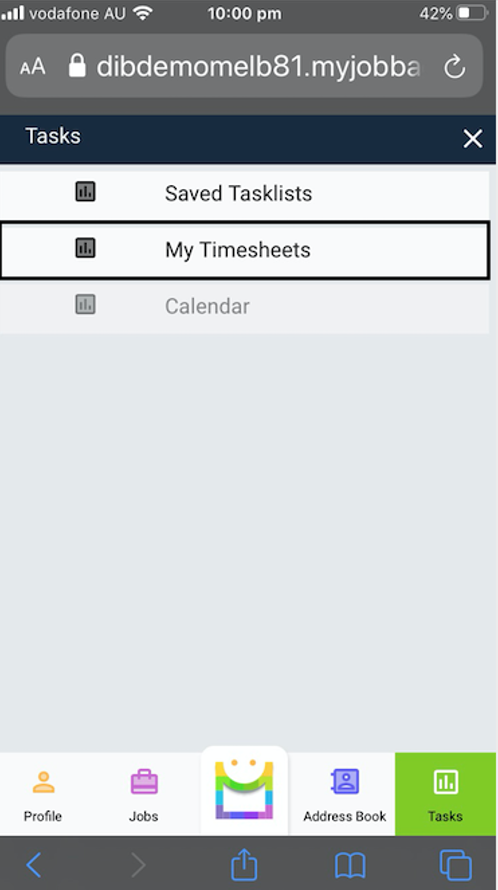
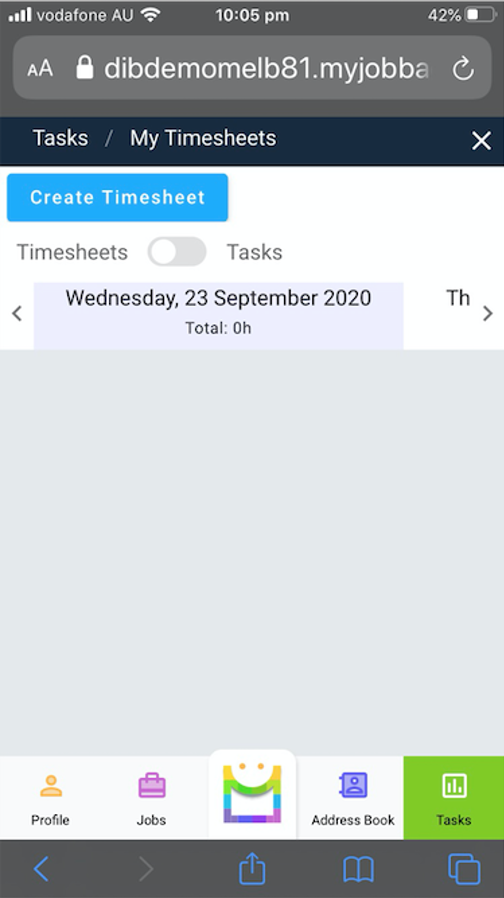
The screen shots below show timesheets being created via the mobile phone app. That said the steps are the same when creating a timesheet without a task via the web or JBX window.
1. Select Tasks (bottom right hand corner).
2. Select My Timesheets
3. Select the Create Timesheet button.
4. Search for the relevant Job. If you already know the Job number, that is all you need. It is not necessary to fill in all fields.
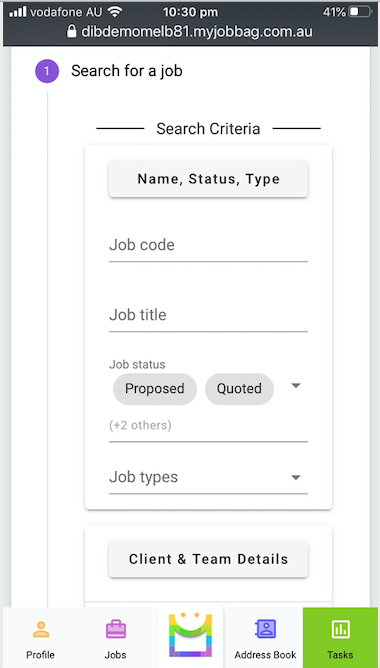
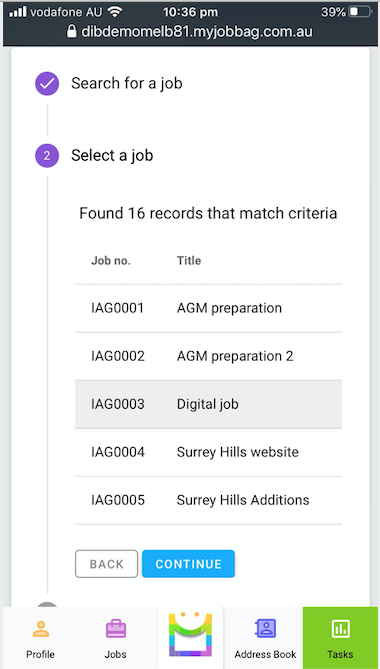
5. Select Job
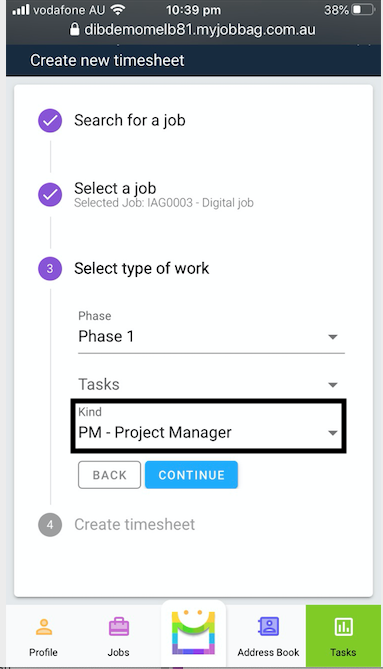
6. Select type of work (Task, Kind)
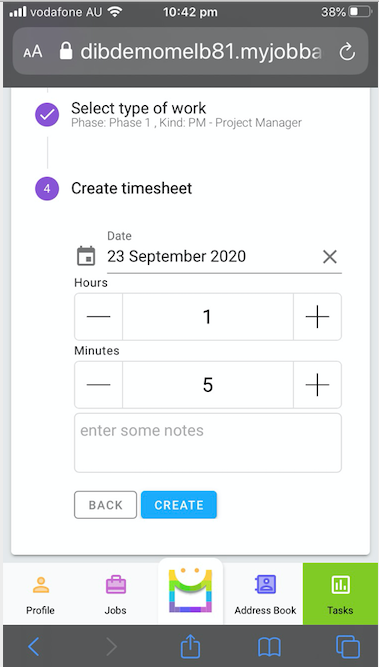
7. Create timesheet
Create a Timesheet from Task Manual entry
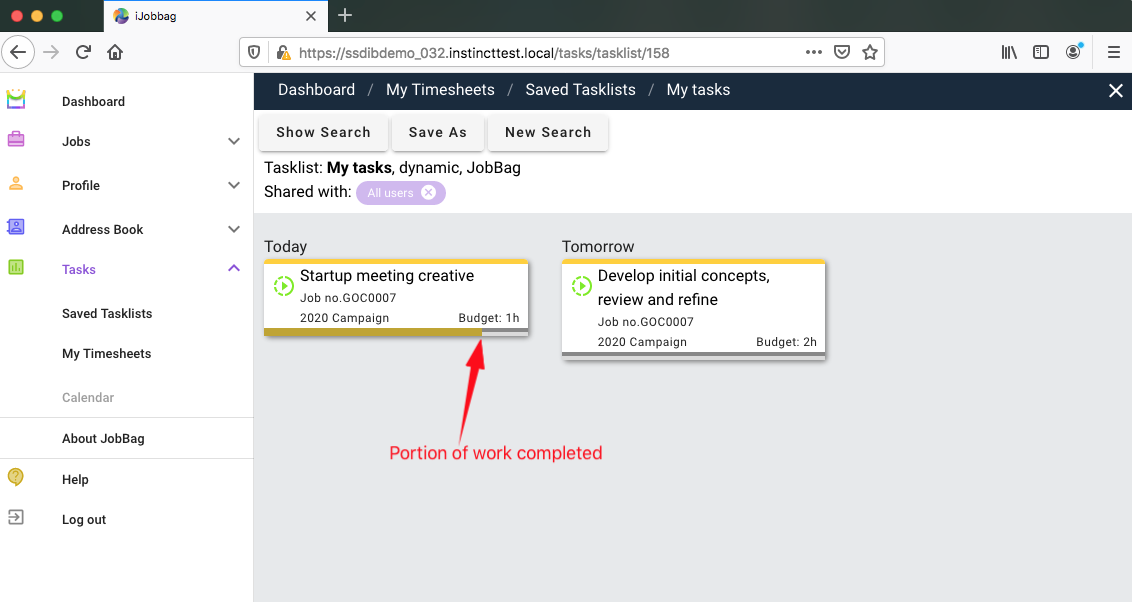
1. Locate your task.
It will be in the Tasks menu, and either in My Tasks (if assigned to you) or in one of the Saved Tasklists.

2. Click on the task to open the Task window.

3. Select Create Timesheet button, to open the Create Timesheet dialog.
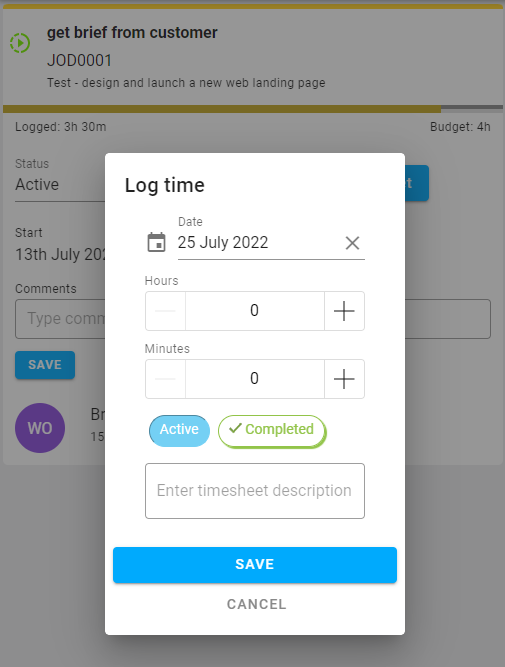
4. Click

and the Timesheet is logged successfully.
Note: The task shows the percentage of work completed as a progress bar. This will display on all tasks that have a budget.
Create Timesheet from Task using Autotimer
You can track time spent working on your tasks by using the autotimer feature in JobBag's web app. When the auto timer option is selected, the timer will automatically keep time for you. This will continue until you finish the task or complete the action.
Note that once you start the timer, it will keep running until you stop it. It will keep running even if you leave the page or close the browser.
This is available on the two applications and data is synced between the apps.
- Web app at http://(your company database name).myjobbag.com.au
- Desktop app on Windows or Mac.
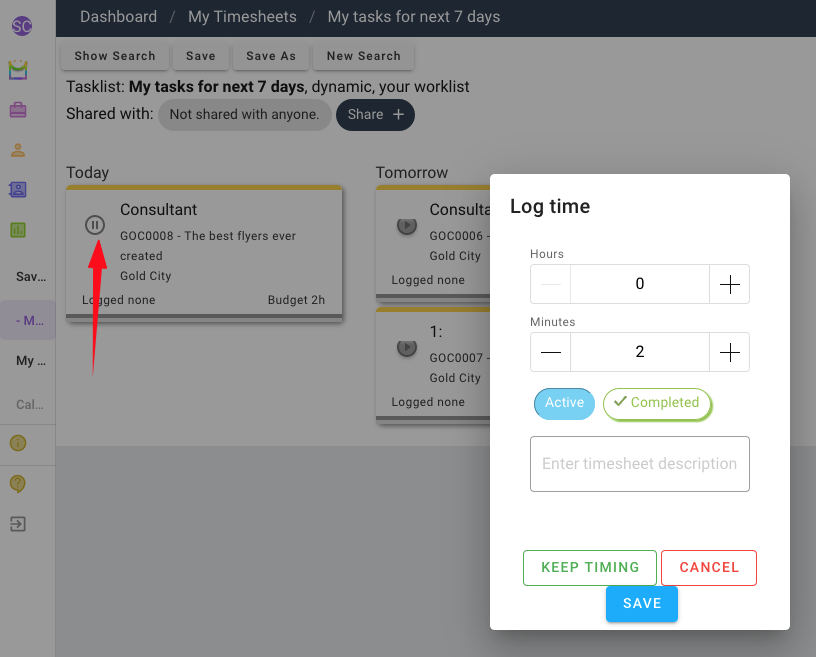
1. Start time by clicking on the play icon button (icon) in the task page.
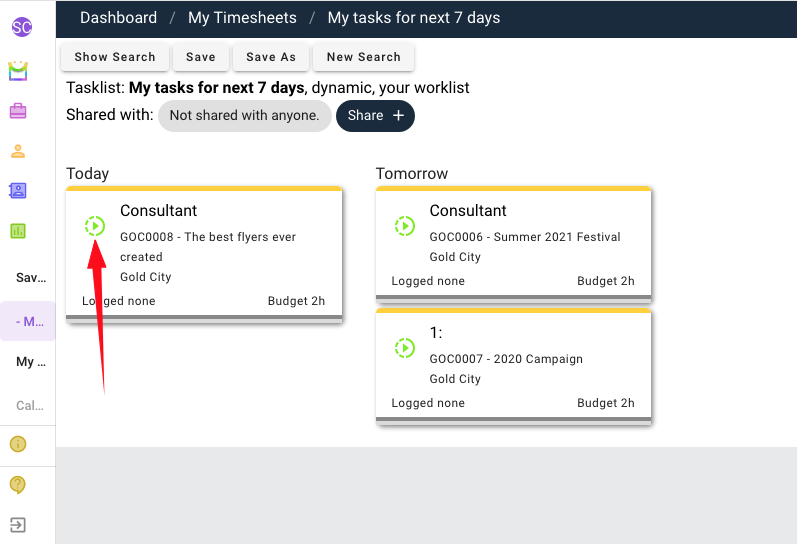
When the timer is running, the timer button in the header will change from grey to green, so you can see that it is running.

You can hover over the icon to see which task you are timing. You can also click on the task to go straight to that window in the browser.

2. When you are done with your task, stop the timer by clicking on the pause icon button.
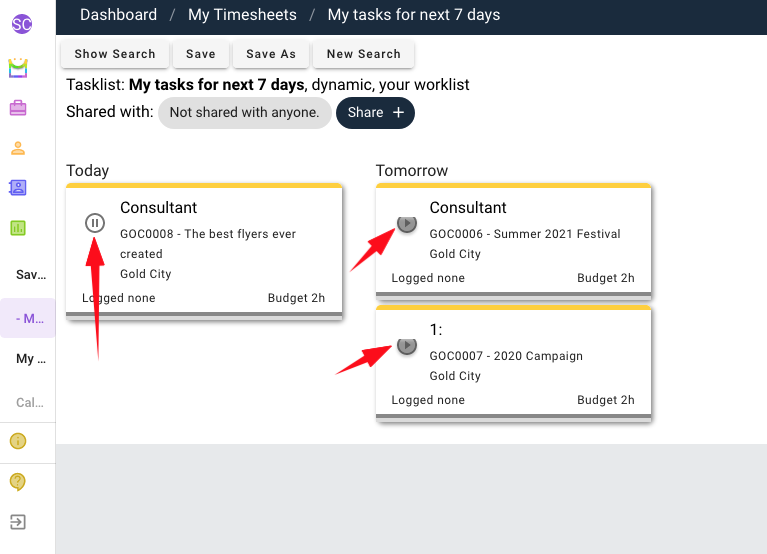
Note: You can only have one running timer per organisation database. If you have multiple databases, you can have multiple timers running, one in each database.
Time is pre-filled from the Autotimer. Check the task status and enter a description (if needed). Save timesheet when you are done.
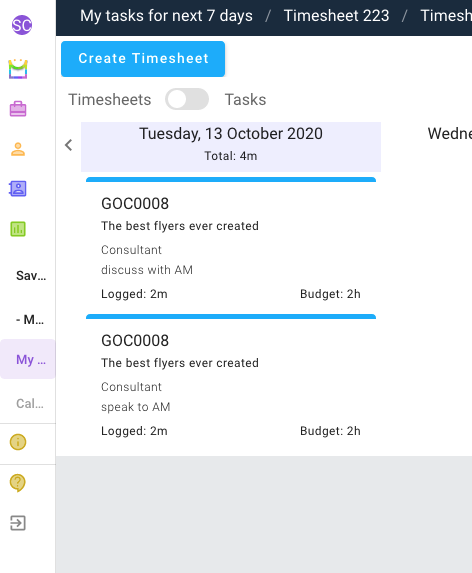
This will return you to the My Timesheets view, showing the completed timesheet.
Delete a timesheet
If you have entered timesheet in error, follow these steps to delete the timesheet.
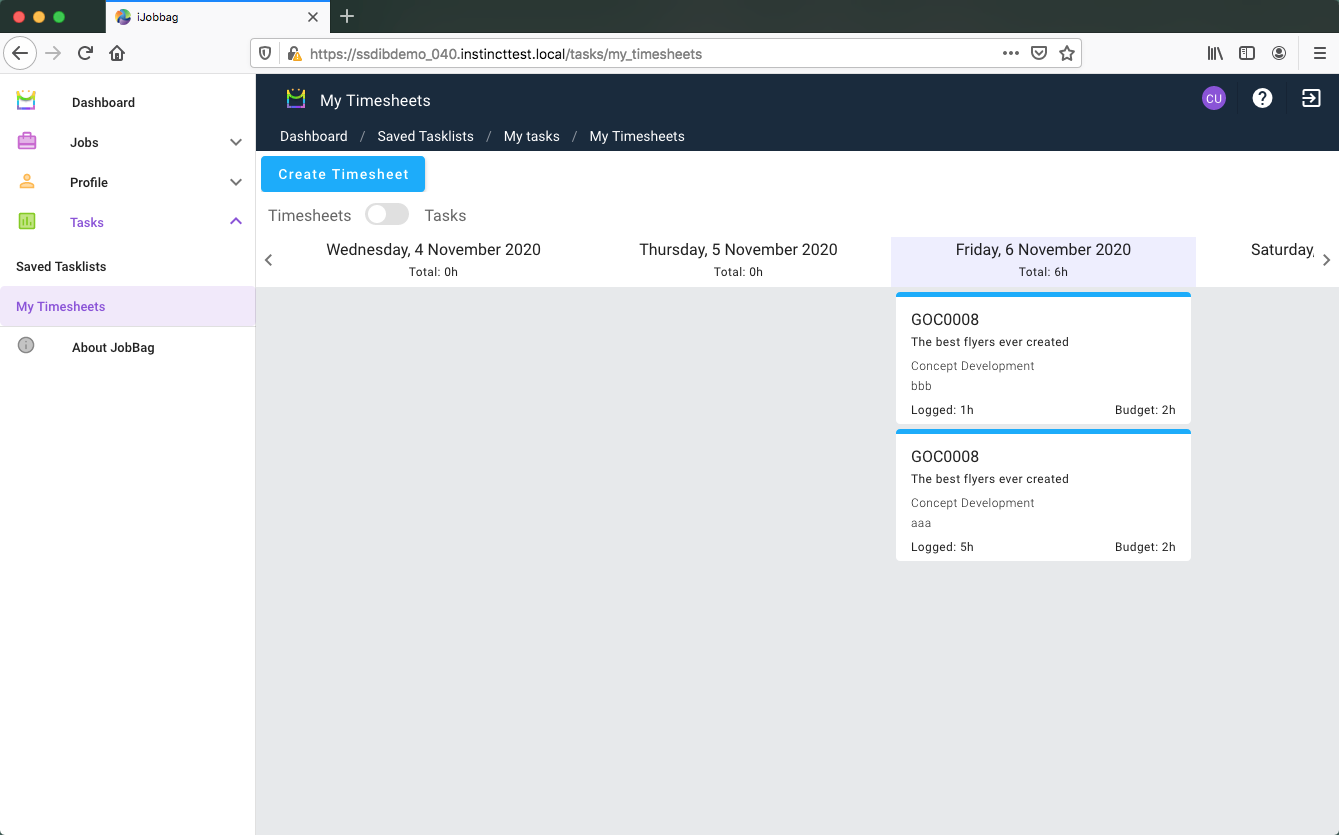
1. Go to Tasks > My Timesheets.
2. Select the timesheet to be deleted. This will take you to the Timesheet page.
In the Timesheet page, select the Delete button to delete the Timesheet.
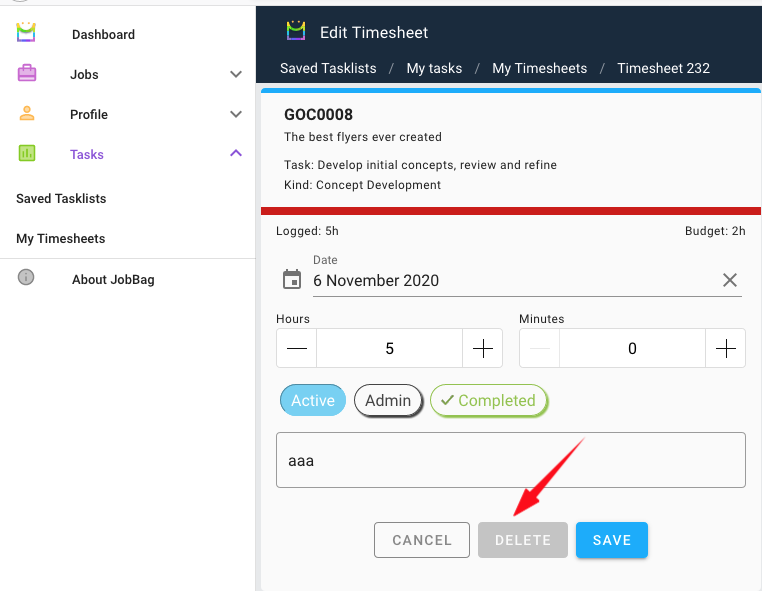
The timesheet has been successfully deleted.
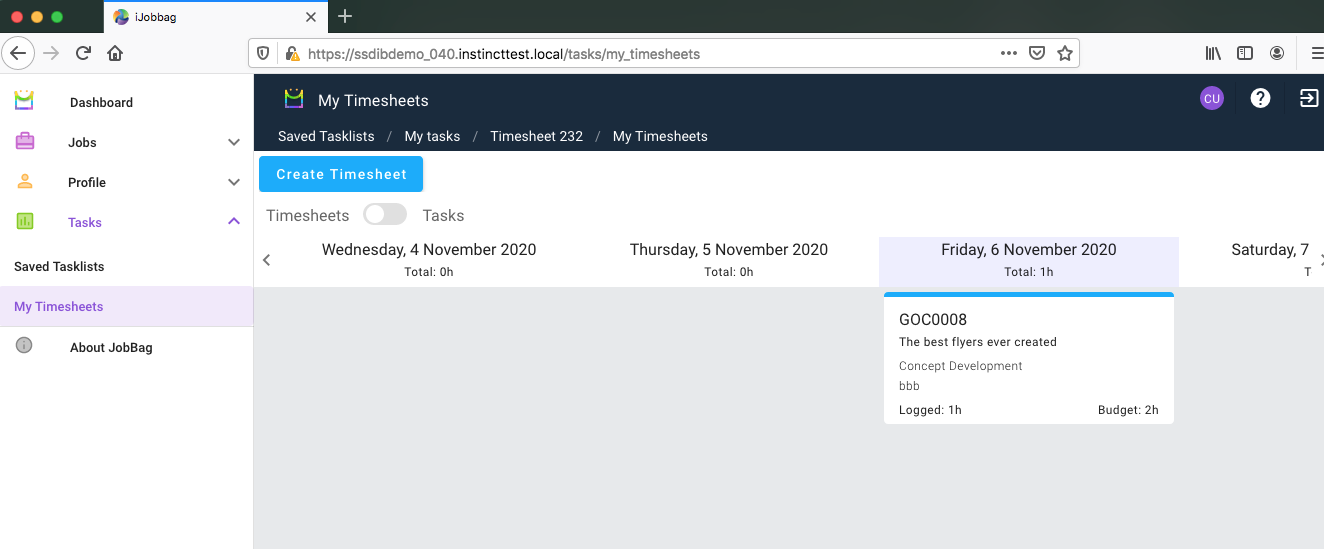
View completed Timesheets
When timesheets are completed, you can view them in Tasks > My Timesheets.